
Achieving perfectly hung curtains can transform a room, making windows appear larger and ceilings taller. While many homeowners embark on this DIY project with enthusiasm, one crucial measurement often gets overlooked: the height from which to hang the curtain rod. This minor detail, if neglected, can lead to unsightly gaps or curtains that interrupt the room’s flow rather than enhance it. Whether you’re beautifying a cozy space or preparing for holiday gatherings, understanding how to properly measure for your curtains and install them to achieve the desired aesthetic is essential.
Beyond just aesthetics, curtains serve practical purposes like providing privacy and blocking light. Choosing the right fabric and style can elevate your home decor while ensuring functionality. There’s no need for hesitation; with the right guidance, anyone can hang curtains that look professionally done.
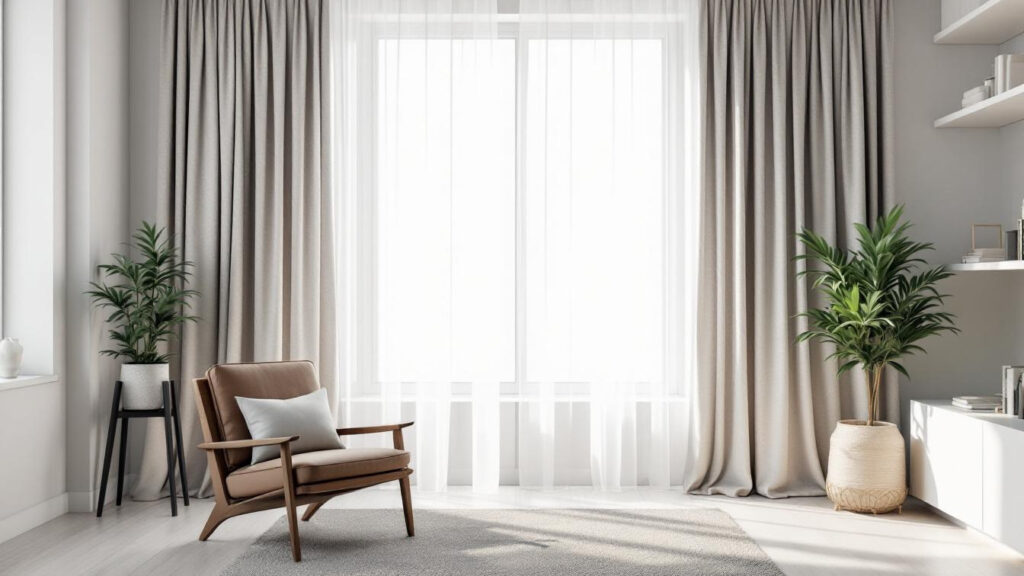
Essential Tips for Accurate Curtain Measurements
To successfully hang your drapery, precise measurements are vital. Here are the key factors to consider:
- Width: The total width of your curtain panels should be about twice the width of your window to ensure full coverage.
- Length: Measure from the floor to where you intend to hang the rod—typically 4 to 6 inches above the window frame. This helps avoid short curtains that make a space feel cramped.
- Rod Width: Select a rod that extends 8 to 12 inches beyond the window’s width to allow curtains to fully clear the window when drawn.
Understanding Curtain Rod Placement
Positioning the curtain rod correctly is crucial for both function and style. Begin by measuring the depth of your window trim. This will guide the size of the brackets needed to support your curtains effectively. It’s essential to mark the rod’s height accurately—typically 4 to 6 inches above the window. For a more dramatic appearance, consider mounting the rod closer to the ceiling, which can create the illusion of taller walls.
When marking the placement of brackets, ensure they sit outside the window frame by about 6 inches. This placement allows natural light to flow into your space, enhancing the room’s brightness and openness.
Step-by-Step Installation Process
Follow these simple steps for hanging curtains with precision:
- Measure: Confirm the width and height needed for your curtains based on your previous measurements.
- Mark the Bracket Locations: Using a pencil, indicate where the brackets will go based on your height and width markings.
- Install the Brackets: Use a level to ensure brackets are even and strong enough to hold your curtains.
- Hang the Curtains: Depending on the type of curtains, thread the rod through grommets or attach them using hooks or clips.
Maintaining Your Curtain Installation
Once your curtains are hung, routine checks can help maintain their appearance. Periodically tighten screws and ensure hooks are secure, preventing sagging or damage over time. For best results, use drapery care instructions to keep fabrics clean and fresh, enhancing their longevity.
| Measurement | Recommended Dimensions |
|---|---|
| Curtain Width | 2 times the window width |
| Curtain Length | Hover just above the floor |
| Rod Width | 8 to 12 inches wider than the window |
Understanding these elements will set the stage for beautifully hung curtains that not only enhance your interior design but also elevate your overall home decor. With the right measurements and techniques, achieving a polished look is within everyone’s reach.