
Cleaning windows might seem straightforward, but many people unknowingly make mistakes that turn their efforts into a frustrating chore. One common cleaning mistake often results in streaks forming just minutes after you’ve finished, leaving windows looking worse than before you started. Believe it or not, the timing of your cleaning can dramatically impact the outcome. For a streak-free shine, it’s crucial to consider not just your tools and solutions but also the weather conditions when tackling your windows.
Using the wrong tools or cleaning solutions can exacerbate the problem, leading to additional cleaning streaks and constant upkeep. Choosing a sunny day for cleaning, in particular, can lead to rapid evaporation of your cleaning solution. This not only makes it difficult to achieve a streak-free finish but can leave you dissatisfied with the results after just ten minutes. Let’s explore some of the most crucial mistakes people make in window cleaning and how you can avoid them to achieve sparkling, clear glass.
The Impact of Incorrect Tools in Window Cleaning
First and foremost, your choice of tools significantly affects the quality of your window cleaning results. Using paper towels or old rags can lead to lint, streaks, and even potential scratches on the glass. Instead, opt for high-quality microfiber cloths, a sturdy squeegee, and a reliable bucket filled with a suitable cleaning solution. This upgrade will ensure a cleaner finish while minimizing effort.
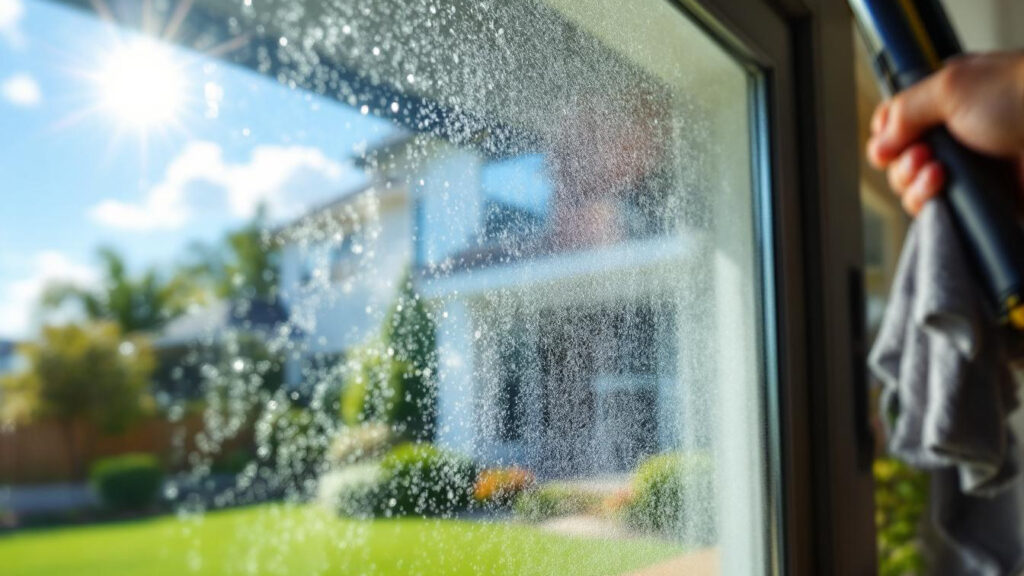
Avoid Cleaning on Sunny Days
While sunny weather may seem like the perfect backdrop for window cleaning, it’s actually counterproductive. The heat can cause cleaning solutions to evaporate too quickly, creating streaks that linger long after you’ve finished. The best times to tackle this task are during cloudy days or in the early morning or late afternoon when temperatures are milder, allowing adequate rinsing and drying.
Pre-Cleaning: A Step Often Overlooked
A frequent misstep in the window cleaning process is skipping the pre-cleaning step. Dust and dirt accumulate over time, and diving straight into cleaning can lead to unwanted smudging or scratches. Before applying any cleaner, use a dry microfiber cloth or a soft brush to gently wipe away loose dirt. This simple yet effective technique can significantly enhance the cleanliness of your windows.
Choosing the Right Cleaning Solutions
Have you ever checked the labels on your cleaning products? Not all cleaners are appropriate for windows. Harsh chemicals can damage the glass coatings, while certain homemade solutions might leave undesirable residue. Instead, stick to the basics: a mixture of water with a small amount of dish soap or a vinegar-based cleaner works wonders for streak-free results.
Don’t Ignore Frames and Sills
Window cleaning isn’t solely about the glass; frames and sills deserve attention too. Neglecting these areas can lead to long-term damage from dirt and mold buildup. Use a damp cloth with mild detergent to clean frames and sills before washing the glass itself—this ensures a thorough and professional finish.
Drying: A Critical Final Touch
Many people leave windows to air dry, inadvertently allowing water spots and streaks to form. To achieve a crystal-clear finish, a clean microfiber cloth or a squeegee is essential. When using a squeegee, remember to wipe the blade between strokes to avoid transferring dirt and water back onto the glass.
Helpful Cleaning Tips for Sparkling Windows
- Use high-quality tools: microfiber cloths, squeegees, and a proper cleaning solution.
- Avoid cleaning on sunny days—opt for cooler times for best results.
- Pre-clean windows to remove dirt and dust before applying cleaner.
- Choose the right cleaning products: avoid harsh chemicals.
- Don’t forget to clean the frames and sills for a professional finish.
- Dry properly with a cloth or squeegee to prevent streaks.